Scene to HDRI
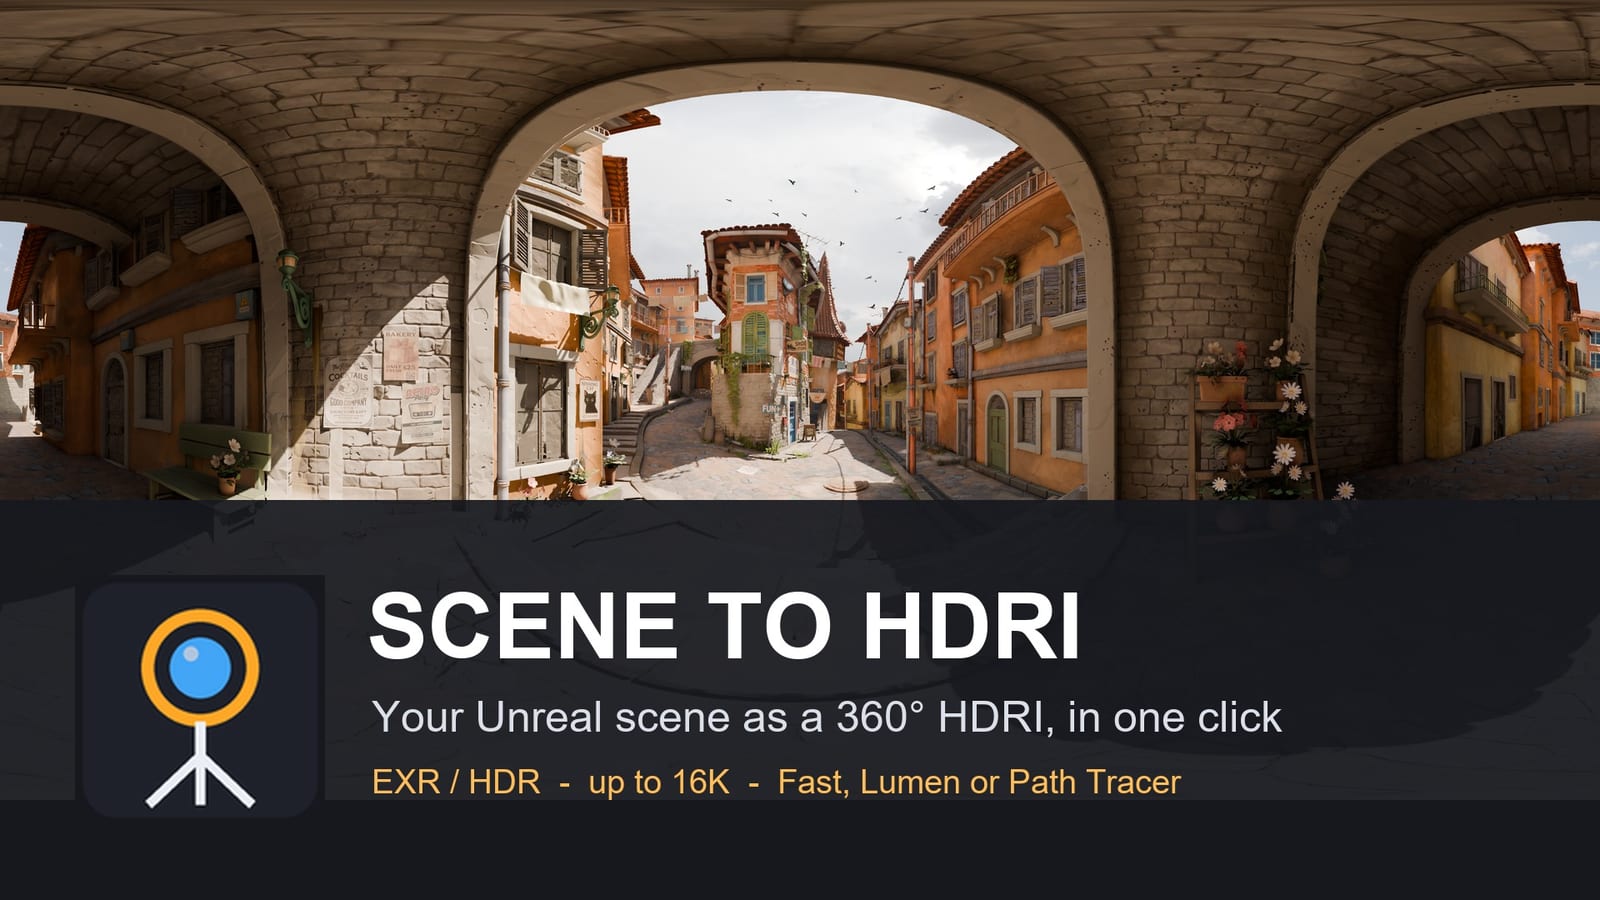
Your level, captured as a 360 degree HDRI.
Capture your Unreal scene as a 360 degree HDRI and use it in Blender, Maya, 3ds Max, Substance, Marmoset, KeyShot or another engine. Unreal Engine 5.6, 5.7 and 5.8, editor plugin.
Installation
- Close Unreal Engine.
- Copy the
SceneToHDRIfolder into your project'sPluginsfolder. Create thePluginsfolder next to your.uprojectif it does not exist. - Open the project. The plugin is enabled automatically; you can check it in Edit > Plugins ("Scene to HDRI").
- An HDRI button appears in the level toolbar.
When the plugin is installed from Fab, it is added to the engine. Enable it in Edit > Plugins ("Scene to HDRI") and restart the editor.
Use
- Click HDRI in the level toolbar. An HDRI Capture Rig (a tripod with a 360 camera) appears 3 m in front of you, standing on the ground, and is selected.
- Move and turn it like any actor. The orange arrow is the centre of the image.
Set it up in the Details panel:
- Camera Height: height of the 360 camera above the feet (cm). The tripod follows.
- Resolution: 2K, 4K, 8K or 16K (width; the height is half of it).
Render Mode:
- Fast: the classic sky light, in a second.
- Lumen: the full Lumen lighting, bounces included, in a few seconds.
- Path Tracer: reference quality. Set Path Tracer Samples (256 is clean for most scenes). It needs hardware ray tracing in the project (see Notes).
- Actors To Hide: for example the car or the character the HDRI is made for. The rig is never in its own HDRI.
Files:
- OpenEXR: 16-bit half, or 32-bit float;
- Radiance .hdr;
- a PNG preview;
- the folder and file name (empty:
<Project>/Saved/HDRI, named after the level, the rig and the date).
Light:
- Normalise Brightness: the average light is brought to 1, like most HDRIs, so it lights a scene at strength 1. Turn it off to keep the scene's own physical values.
- Exposure EV: brighter or darker, in stops.
- Sky Only: below the horizon, the image is filled with the horizon colour.
- Look Through Camera puts the viewport inside the 360 camera, to see what it sees. Turning the view turns the rig, so the centre of the image follows. Stop looking through in the HDRI menu (the arrow next to the button) brings the normal camera back.
- Click Capture HDRI. Last Capture lists the files; Open Output Folder shows them.
The arrow next to the HDRI button also has Capture selected rigs and Capture all rigs of the level: place several rigs and render them all in one go.
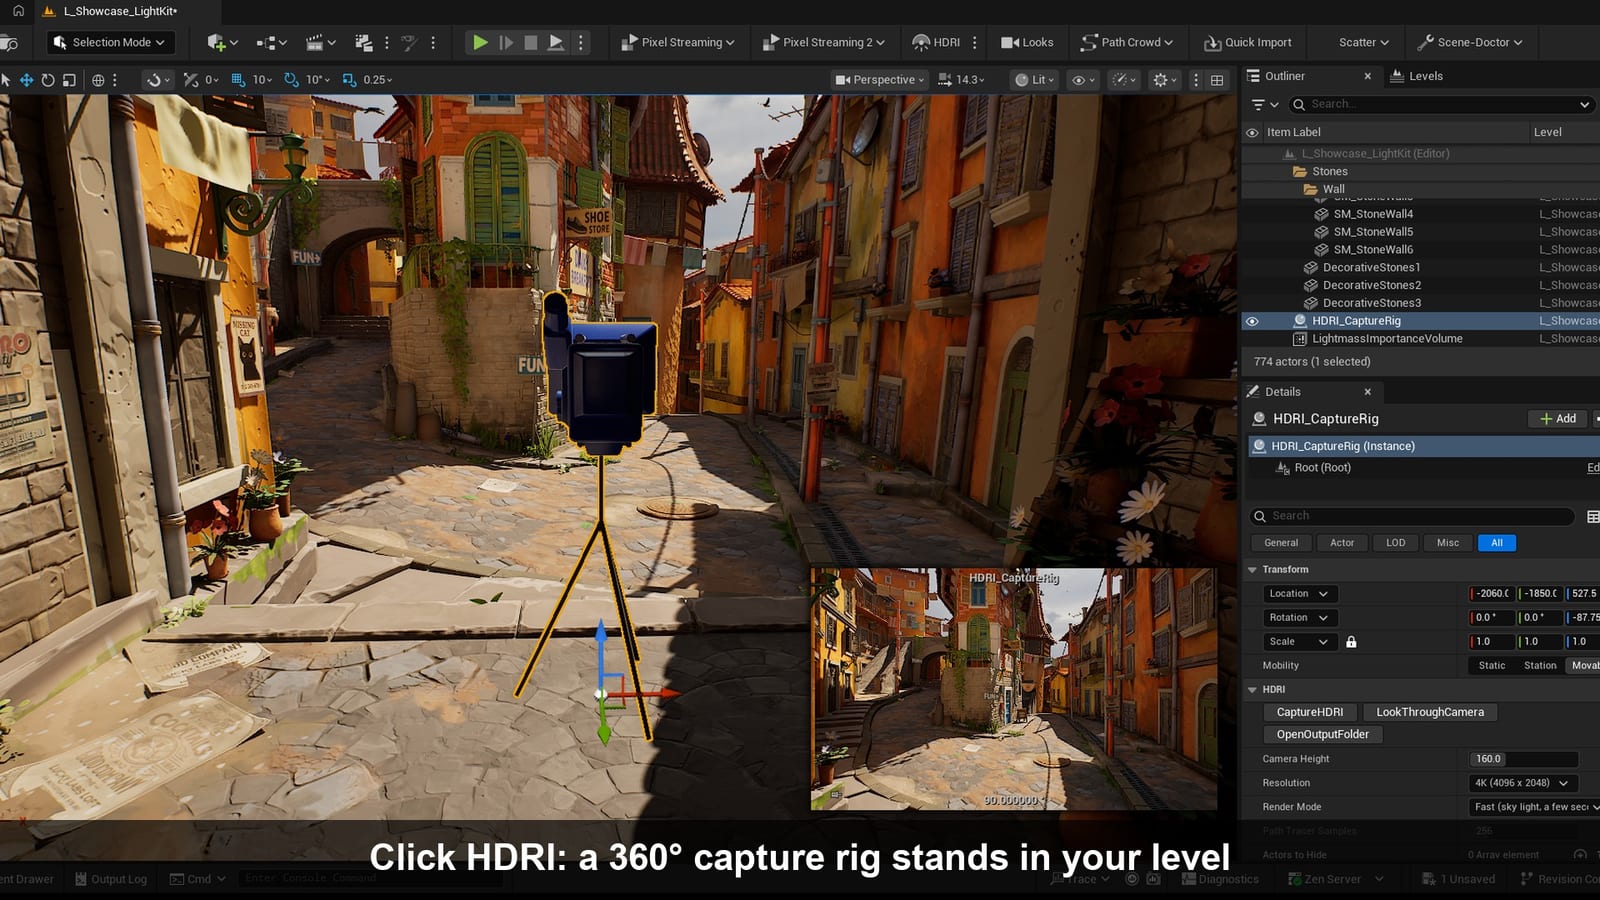
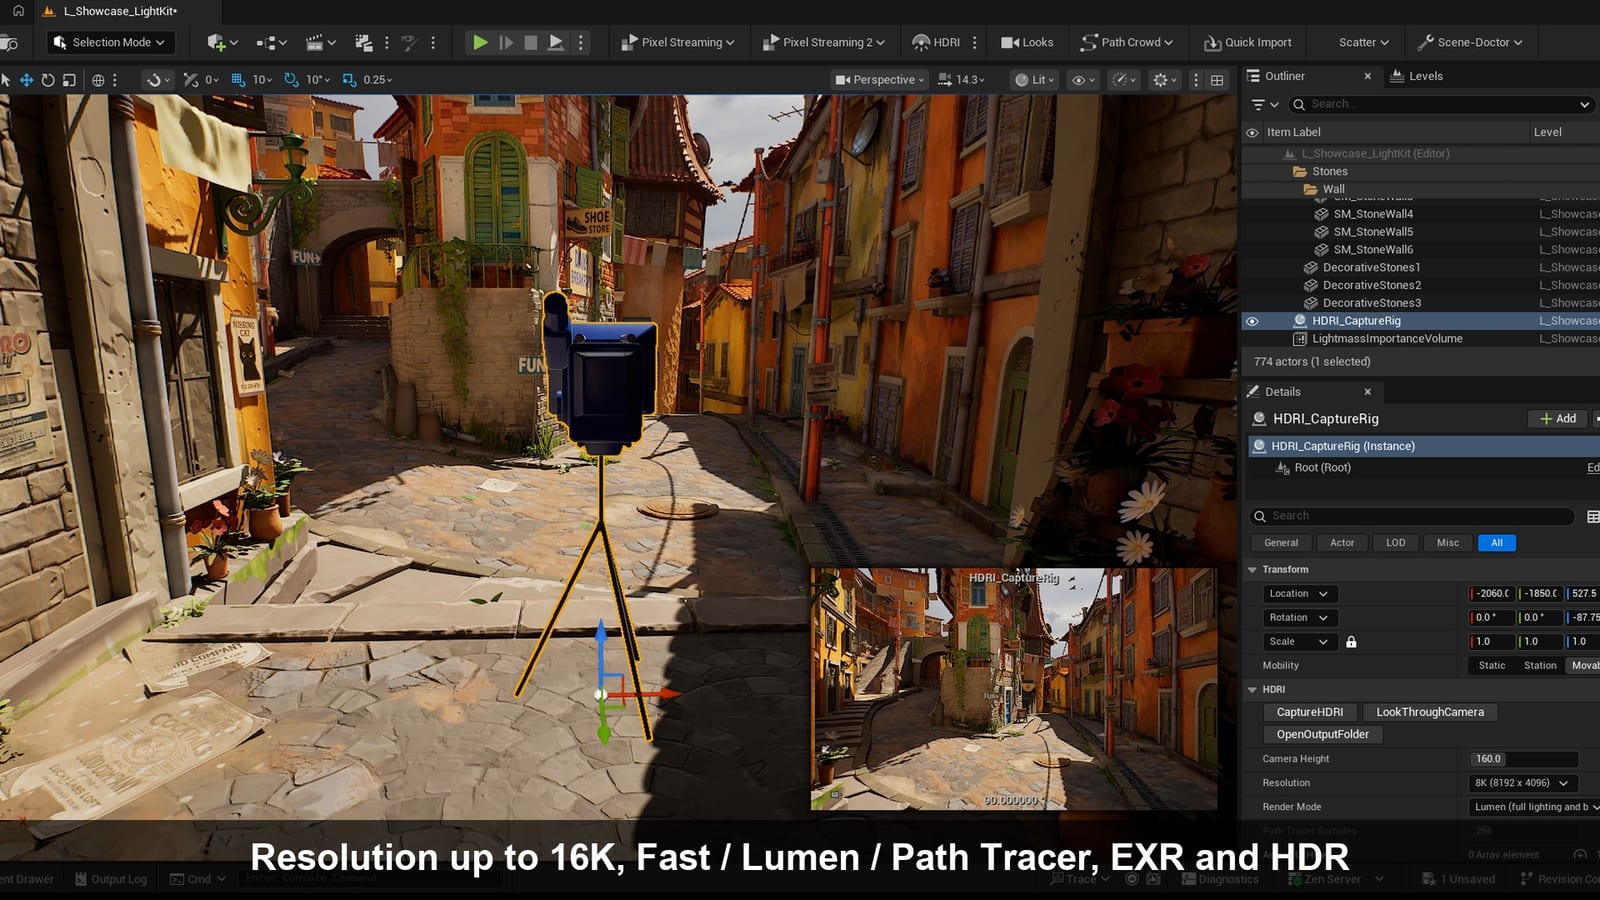
The rig from the side Look Through Camera
Notes
- The format is equirectangular (lat-long), the standard HDRI layout, with Unreal's own long-lat convention. An HDRI exported here and imported back into Unreal as a cubemap lines up with the scene.
- The values are linear (scene-referred). The sun keeps its intensity, so shadows and reflections come out right.
- Path Tracer requirements: DirectX 12 with Shader Model 6, and in Project Settings > Rendering: Support Hardware Ray Tracing, Path Tracing and Support Compute Skin Cache. Restart the editor; the first capture compiles the path tracer shaders. Without them the plugin says so and does not capture.
- Before capturing, let the level settle a few seconds after opening it, so the sky light and Lumen have caught up.
- Speed: Fast takes about a second, Lumen a few seconds, Path Tracer from seconds to minutes depending on the samples and the resolution. 16K needs about 6 GB of RAM.
HDRI captured with Lumen, 8K HDRI captured with the Path Tracer An object lit by the HDRI in Blender Inside the HDRI
Python / Blueprint
- On a rig:
CaptureHDRI(),LookThroughCamera(),OpenOutputFolder(),GetCameraLocation(). USceneToHDRILibrary:AddCaptureRig()CaptureAllRigs()CaptureHDRI(Location, Width, OutputFile, bExr, bFullFloat, bHdr, bPng, HiddenActors, bSkyOnly)
Support
XR Forges, fabien.xrforges@gmail.com
Documentation: https://www.xrforges.com/docs/scene-to-hdri/